Hey there, fellow outdoor enthusiasts! As a supplier of Cooler Dry Bags, I've seen firsthand how crucial it is to seal these bags properly. A well-sealed cooler dry bag can keep your essentials dry, fresh, and protected, whether you're out on a camping trip, a fishing adventure, or just a day at the beach. In this blog post, I'm gonna share some tips and tricks on how to seal a cooler dry bag like a pro.
Why Proper Sealing Matters
Before we dive into the sealing process, let's talk about why it's so important. A poorly sealed cooler dry bag can let in water, dirt, and air, which can damage your belongings and reduce the bag's effectiveness. For example, if you're using a cooler dry bag to store food and drinks, a leaky seal can cause the ice to melt faster, leaving your refreshments warm and unappetizing. On the other hand, a properly sealed bag can keep your food and drinks cold for hours, even in hot weather.
In addition to keeping your belongings dry and fresh, a well-sealed cooler dry bag can also protect them from damage. For instance, if you're carrying electronic devices or other sensitive items, a leaky bag can expose them to water and moisture, which can cause them to malfunction or break. By sealing your bag properly, you can ensure that your valuables stay safe and secure.
Choosing the Right Cooler Dry Bag
The first step in sealing a cooler dry bag properly is choosing the right one for your needs. There are many different types of cooler dry bags available on the market, each with its own features and benefits. When selecting a bag, consider the following factors:
- Size: Choose a bag that's big enough to hold all your belongings, but not so large that it's difficult to carry or store.
- Material: Look for a bag made from high-quality, waterproof materials, such as PVC or nylon. These materials are durable, lightweight, and resistant to tears and punctures.
- Closure: Consider the type of closure the bag has. Some bags have zippers, while others have roll-top closures. Roll-top closures are generally more waterproof than zippers, but they can be a bit more difficult to use.
- Features: Look for a bag with additional features, such as padded straps, multiple compartments, or a built-in cooler. These features can make your bag more comfortable to carry and more versatile.
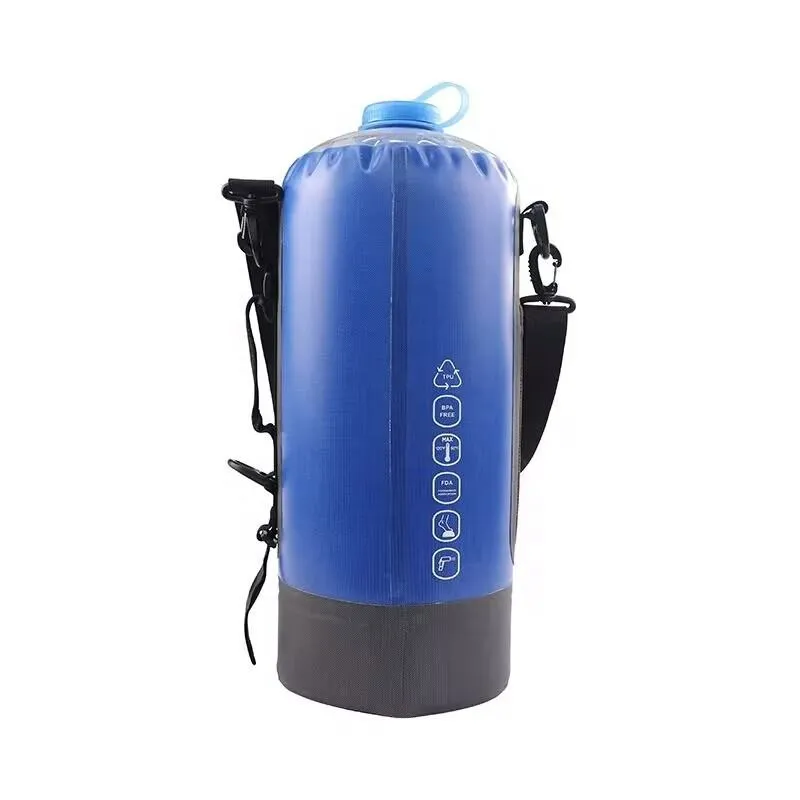
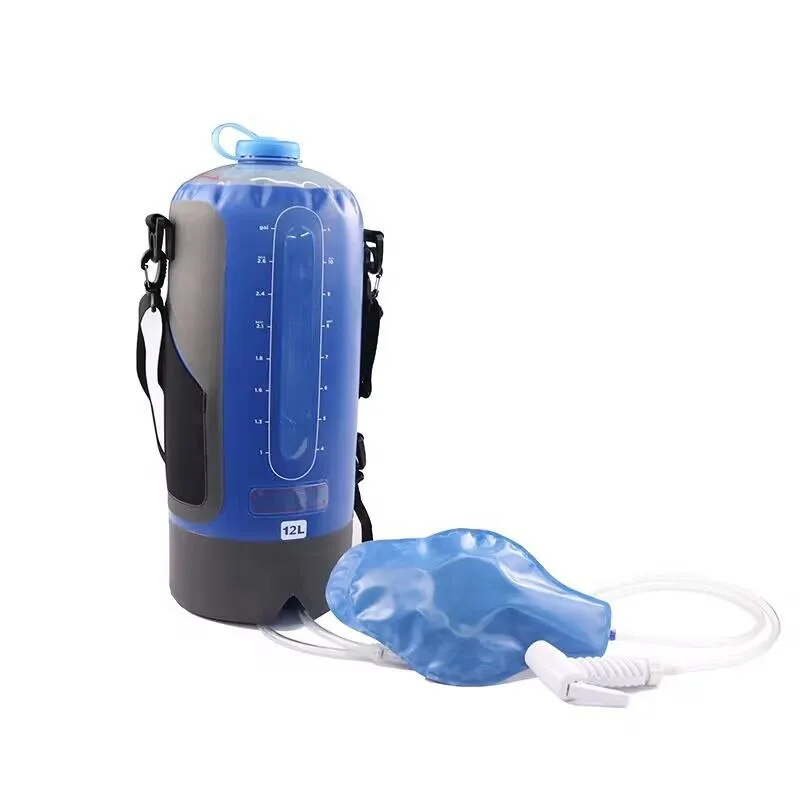
As a supplier, I recommend checking out our Bicycle Shock-absorbing Bracket Pipe Bag, Tarpaulin Dry Backpack, and Portable Outdoor Camping 12L Shower Bag. These bags are made from high-quality materials, have reliable closures, and come with a variety of useful features.
Preparing Your Cooler Dry Bag
Once you've chosen the right cooler dry bag, it's time to prepare it for use. Here are some steps to follow:
- Clean the bag: Before using your bag for the first time, clean it thoroughly with soap and water. This will remove any dirt, debris, or chemicals that may be on the bag's surface.
- Inspect the bag: Check the bag for any signs of damage, such as tears, holes, or loose seams. If you find any damage, repair it before using the bag.
- Dry the bag: Make sure the bag is completely dry before using it. You can dry the bag by hanging it up in a well-ventilated area or using a towel to pat it dry.
- Organize your belongings: Before packing your bag, organize your belongings into smaller, manageable items. This will make it easier to pack the bag and ensure that everything fits properly.
Sealing Your Cooler Dry Bag
Now that you've prepared your cooler dry bag, it's time to seal it. Here's how to do it:
- Roll down the top: If your bag has a roll-top closure, start by rolling down the top of the bag several times. Make sure the rolls are tight and even, and that there are no gaps or wrinkles in the fabric.
- Secure the roll: Once you've rolled down the top of the bag, secure the roll with the bag's closure system. This may involve buckling a strap, snapping a closure, or using a Velcro strip.
- Check the seal: After securing the roll, check the seal to make sure it's tight and secure. You can do this by gently pulling on the edges of the roll and looking for any signs of air or water leakage.
- Test the bag: Before using the bag, test it to make sure it's waterproof. You can do this by filling the bag with a small amount of water and letting it sit for a few minutes. If there are no signs of leakage, the bag is ready to use.
Tips and Tricks for Sealing Your Cooler Dry Bag
Here are some additional tips and tricks to help you seal your cooler dry bag properly:
- Use a dry towel: Before packing your bag, use a dry towel to wipe down your belongings and remove any moisture. This will help prevent water from getting into the bag.
- Avoid overpacking: Don't overpack your bag, as this can make it difficult to seal properly. Leave some room at the top of the bag to allow for the roll-top closure.
- Store the bag properly: When not in use, store your cooler dry bag in a cool, dry place. This will help prevent the bag from getting damaged or moldy.
- Replace the seal if necessary: Over time, the seal on your cooler dry bag may wear out or become damaged. If this happens, replace the seal to ensure that the bag remains waterproof.
Conclusion
Sealing a cooler dry bag properly is essential for keeping your belongings dry, fresh, and protected. By following the tips and tricks outlined in this blog post, you can ensure that your bag is sealed tight and secure, no matter where your adventures take you.
If you're interested in purchasing a high-quality cooler dry bag, please don't hesitate to contact us. We're a leading supplier of outdoor gear, and we offer a wide range of products to meet your needs. Whether you're looking for a small, portable bag or a large, heavy-duty cooler, we've got you covered.
Thanks for reading, and happy sealing!
References
- Outdoor Gear Lab. (n.d.). How to Choose a Dry Bag. Retrieved from https://www.outdoorgearlab.com/learn/how-to-choose-a-dry-bag
- REI Co-op. (n.d.). How to Use a Dry Bag. Retrieved from https://www.rei.com/learn/expert-advice/how-to-use-a-dry-bag.html
- The Adventure Junkies. (n.d.). How to Seal a Dry Bag. Retrieved from https://theadventurejunkies.com/how-to-seal-a-dry-bag/